Systems GCSE CAT
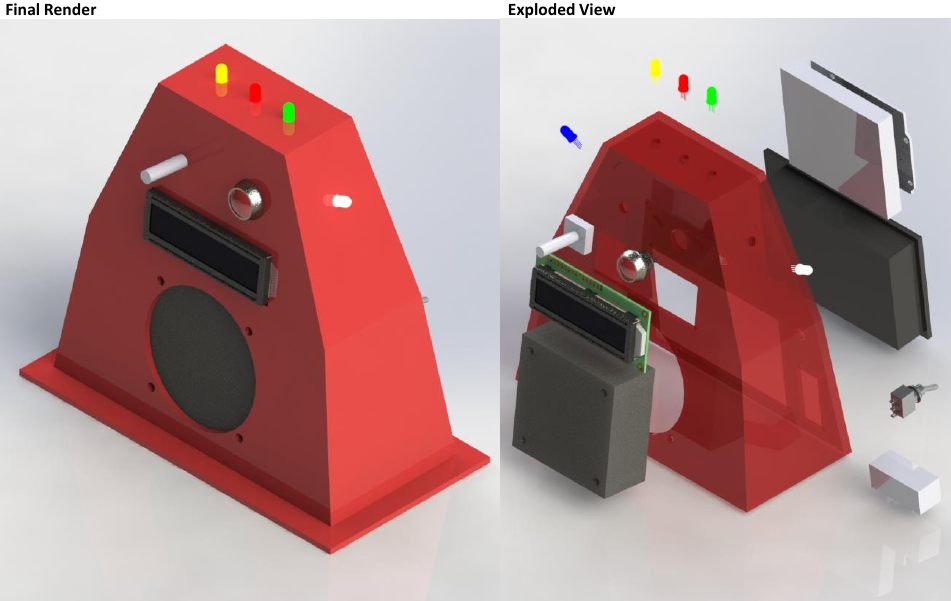
Above: A CAD render of what the thing was supposed to look like, if everything had gone according to plan, and an exploded view (with most of the components modeled as opaque blocks for simplicity).
What was this for?
The WJEC Systems & Control GCSE (the old syllabus, for examination in Summer 2018). One component of that was the Controlled Assessment Task (CAT), where you had to produce both a stack of paperwork relating to your designing process, and an actual finished product that fulfilled a design brief. In my case, my design brief was “[to] design and make a product for people aged 60+ that notifies them when a sound greater than a user-configurable amplitude is detected”.
What was it?
The product essentially consisted of a TFT display and rotary encoder used to configure the thing, a microphone module used to detect sound, and 5 individually-addressable RGB LEDs used to blink and flash whenever a sound was detected, along with a loudspeaker for amplifying the sound. As it said in the brief, you could configure the sensitivity via an on-screen menu system, and it would flash the lights and produce a tone every time it heard a sound greater than the set threshold level.
The casing was made out of vacuum-formed high-impact polystyrene (HIPS), which ended up being a bad idea - it was very thin and snapped easily, making it hard to mount the components inside properly. As such, the end result ended up being held together with a mixture of scotch tape, electrical tape, and hope.
What components were used?
- Arduino Uno
- PCB, manufactured for the project
- AXE133Y TFT display
- 5x RGB LEDs
- 2x SN74HC595N shift registers (to control all the RGB LEDs)
- 1x battery pack of 6 AA batteries
- 1x rather loud loudspeaker
- 1x microphone module
- 1x rotary encoder (turned out to be a royal pain).
What problems were encountered along the way?
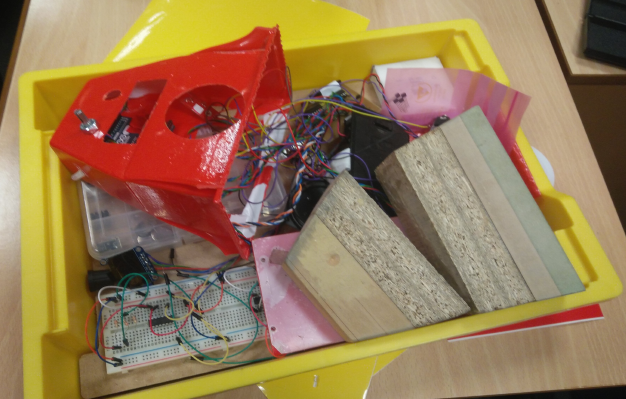
Above: Various pieces of the project in various states of disarray. You can see the red vacuum-formed case, along with the MDF (wood) mould used to make it, as well as some various pieces of haphazard electronics.
- The casing design was too artsy and not practical enough, leading to mounting and installation issues; a case made of sterner stuff, like acrylic, would have been better.
- The 5-individual-RGB-LEDs idea was too hard to pull off; the shift registers never worked reliably enough, and so the only action possible was to turn all of the LEDs on or all of them off, essentially negating the point of doing it in the first place.
- The rotary encoder was an incredibly painful component to get working, partially because of a mistake during the PCB design that meant it didn’t use an interrupt pin.
- Fixing the LEDs in place at the top of the case, where there was limited space, was very hard to do.
What mark did it get?
66 out of 90 (73%), probably because a surprising number of the marks ended up being for the quality of casing design, with a meagre 10 marks for the actual functionality.
It was still pretty fun to make, even though it didn’t perform that well in the end!
What happened next?
The projects were eventually returned after marking – with the Arduinos inside them removed, as those proved to be expensive. I wasn’t about to pay for another Arduino, and I had a Maple Mini lying around (which, via the stm32duino project, could be made to run Arduino code, despite being 3.3V logic-level instead of 5V). So, the electronics were removed from the casing and revived (albeit with a new screen, and some buttons instead of the rotary encoder):
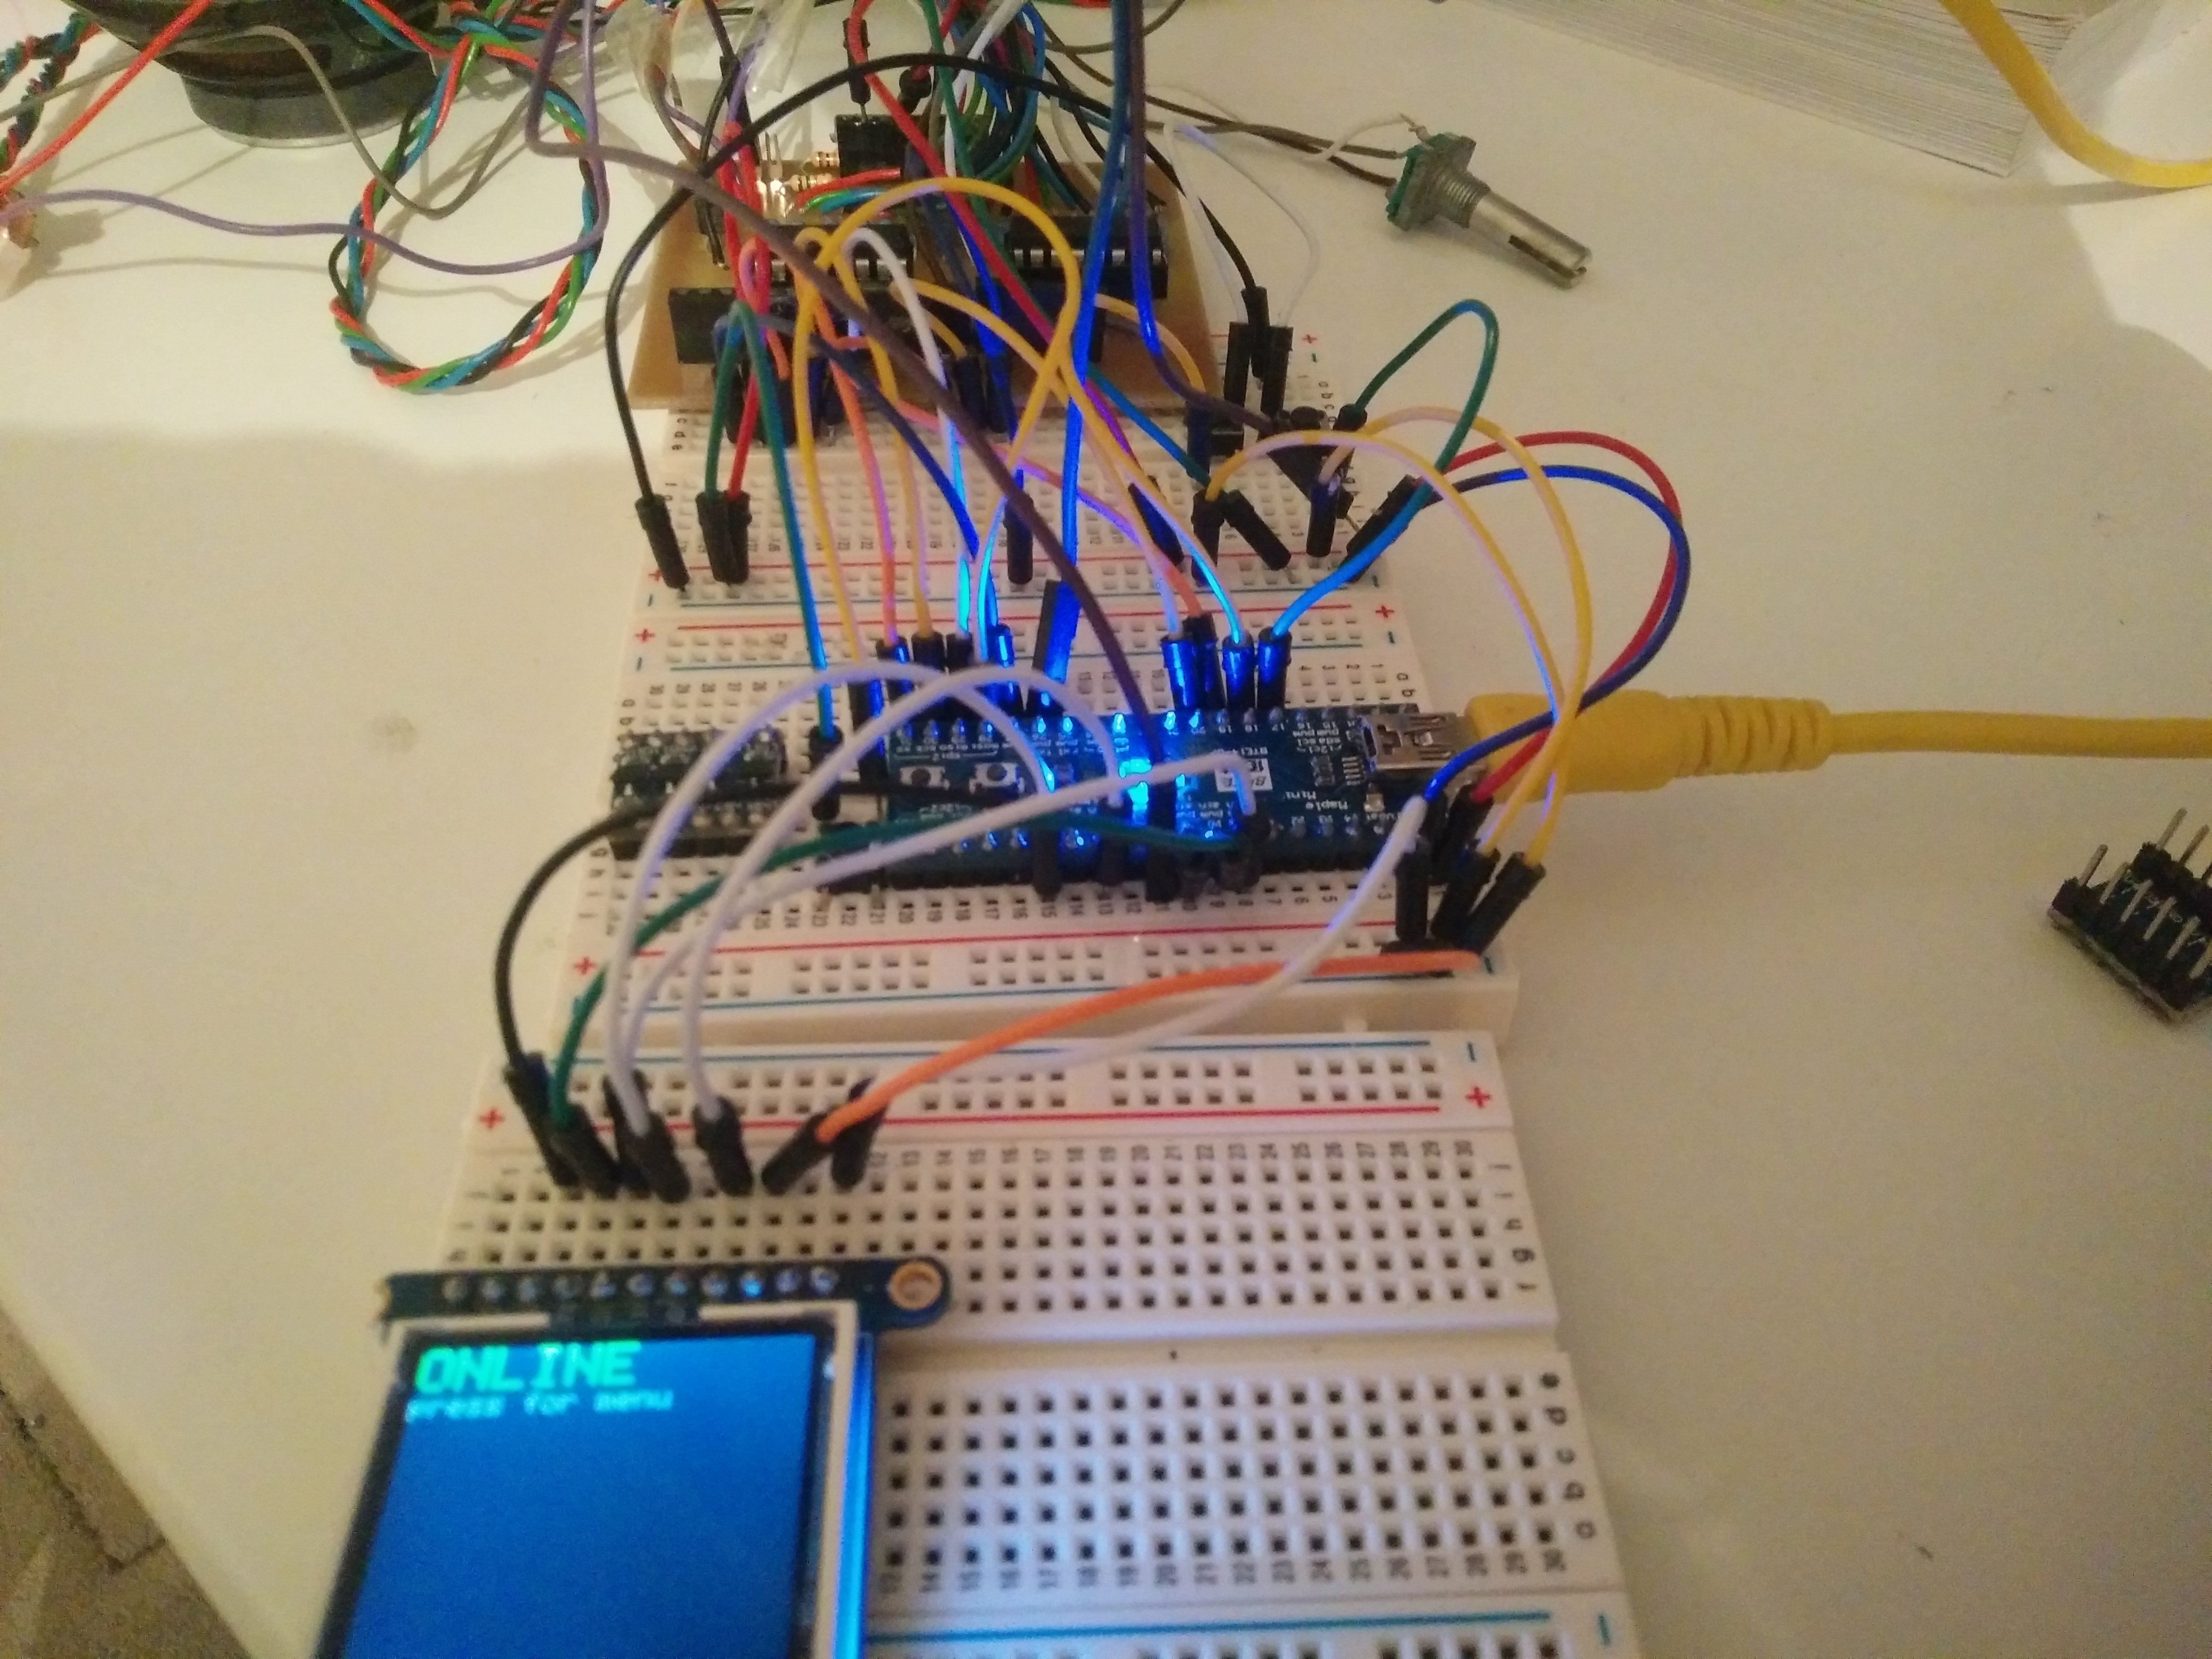
Above, from top to bottom: The old PCB with its pins slightly bent to allow connection to a breadboard (instead of an Arduino Uno); a Maple Mini, connected to a computer for power; an Adafruit TFT, used for the new display.
Where’s the code?
Here’s the original version (as used in the real thing, more or less): code_original.ino
…and here’s the version for the Maple Mini: code_maplemini.ino
It’s mainly intended to be looked at, not to be used (I don’t think anyone apart from me would want to…). The show_menu() function
is at least a bit interesting - it handles displaying a fancy menu that the user can scroll through with the rotary encoder.